Follow these steps to get your blog started.
(1). You will need a Google account and email. Go onto Google and set that up. Make sure you keep a note of your Google account details (Put them on your phone) or email them to your usual email account.
(2). Now when you're signed into the Google webpage near the top right-hand corner you'll see a small group of nine squares, as it says in the diagram click the squares button.


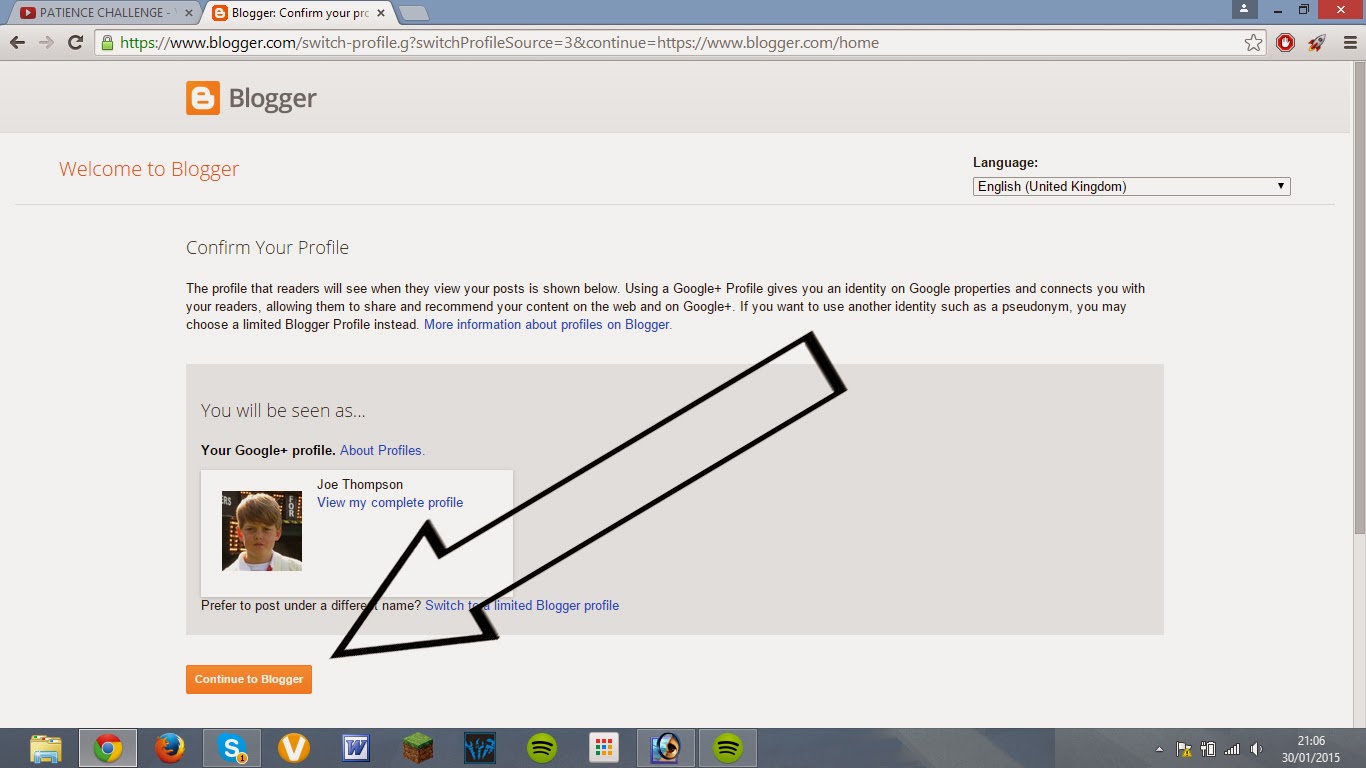
(5). This will then take you to this 'Blogger' page below. Click 'Continue to Blogger'.

The address section 'A' is the bit you've got to get right. If you're starting this blog before your first day, you need to find one of the letters that the college has sent you previously with your student number on it. Use your initials for the blog title followed by the student number. This is always an 8 digit number. YOU MUST use your initials followed your 8 digit number in the section indicated by arrow 'B'. Blogger automatically adds the .BlogSpot.co.uk and the full address appears under the part you type the address into for you to click and confirm you're happy with and then it checks to see if it's available.
If you're already in college, your student number is on your ID card, so follow the same instructions as above. Don't worry about the design of the blog at this stage, just choose simple (you can change it later).


(9). Now you'll be taken to this page below and you'll need to click the little orange tab with the pen symbol in it which you use to create your first and new post. In future as you add new content to your blog you click this little tab to start a new page/entry.

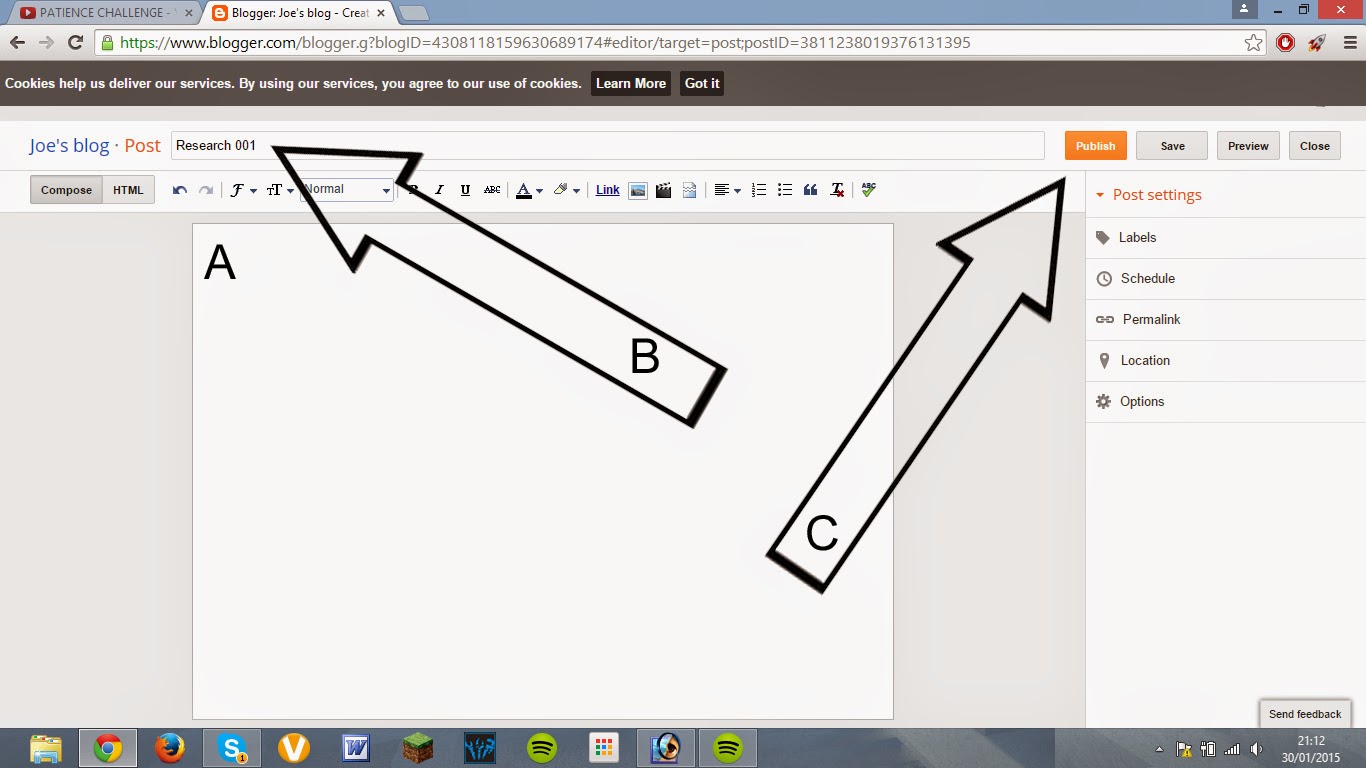


That's it! The worlds now waiting for your content. On the course you'll be guided bit by bit as to how you should title your pages as you go through the course. But for the moment just get on with what you've been set to do and send the web-link for your blog to your course leader.
No comments:
Post a Comment