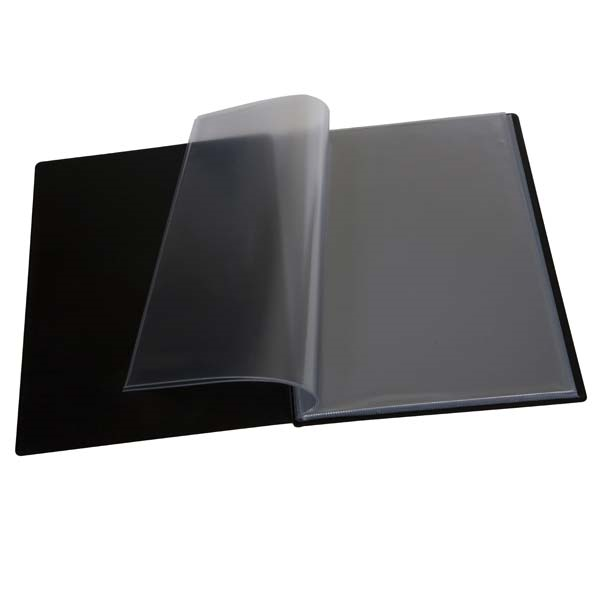
Increasingly we're advising students to work with both a hardcopy display folder (Below) and a 'Blogger' blog.
The majority of your written work will be typed up within your blog and 'Published' daily in a reflective diary style. So each day your in college or whenever you produce some practical work you would write up an entry using the Gibbs method reflecting on your days activities.
How do I lay out and title my blog?
Look here for the instructions as to how you start a blog for your course at Southend.
What do I put in the blog?
As much as you can is the short answer. The way that you're expected to work is to have your research completed in the first two weeks. Your research should be written up straight into the blog using this approach here. Add images as much as you can and make the blog visual. Once the research is completed the rest of the blog for each unit is to be written up in the blog 'Reflectively' using the Gibbs reflective practice method. This should be done on a regular basis. On the days you're in college, it should be done daily, primarily while you're in college. Outside of college hours, you should do it as soon as you can if you shoot or are producing work of some form connected with your course.
Always use the 6 Gibbs prompts to structure the way you write up your reflections. It will make it easier to assess, you'll probably be more aware that you're meeting the assessment criteria and you'll soon realise and learn that it's an affective way to record your work in order that you meet the criteria.
What do I use the folder for?
The folder is used for a number of things, but primarily for the display of your final images. At the end of each of your projects you should aim to produce high quality final portfolio standard images. These should either be mounted on A3 card/paper or produced A3 in size. You should aim to keep the sizes fairly uniform, so in the case of Black and White darkroom prints I advise that you print all of your images 'Full Frame' which is approx. 9" x 6.5" (24cm x 16cm). Similarly with enlarged sections of negatives blow those up to the same size.
*Note; If you intend to mount prints on to card or paper in your folder, don't use glue or stick them down in any way that is permanent. Instead use masking tape or sellotape and form it into a circle and use a small piece to hold the print in the centre of the card. Inside the sleeve, the print will need little support to hold it in place. This will allow you to use the prints in another folio if you decide to 'Upgrade' your portfolio prior to seeking employment or Uni places.
On-Going hard-copy work
The other things you'll put in the folder will include...
- Black and white prints (tests)
- Black and white exercise prints and trials
- Contact sheets
- Test strips
- Final B&W images (Mounted on A3 card/paper see above).
- Hard-copy print offs of your research internet (Photocopies of journal research)
No comments:
Post a Comment